
At IMAGEM always looking for ways to make working with geographic data easier and more efficient. Did you know that you can create a high-quality 3D mesh from drone imagery in just 15 minutes? And did you know that youSimulator also quickly and easily display this 3D mesh in your Planspace Simulator digital twin ? In this post, I’ll walk you through the five simple steps you can follow to try this out for yourself.
Step 1: Capture the drone footage
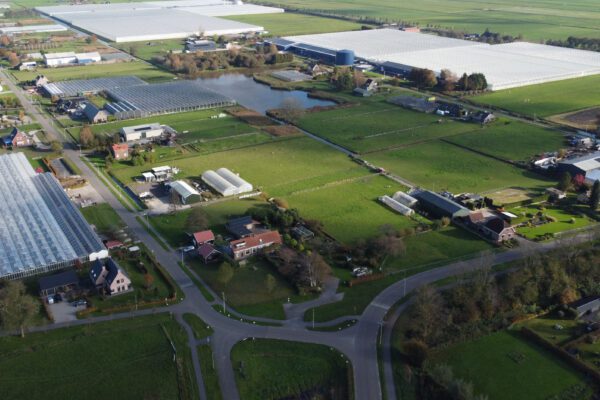
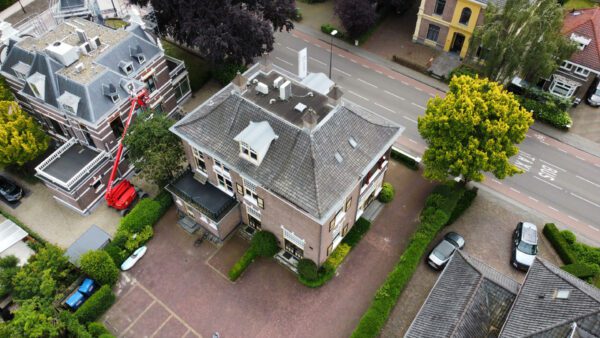
It all starts with capturing the right drone images. Just a few minutes of footage may be enough to create a good mesh. It’s important to make sure that every nook and cranny is photographed as thoroughly as possible. The more detailed your images are, the better your 3D mesh will be. Make sure there is overlap between the photos to prevent gaps in your model.
My colleague Bryan Veldkamp took these photos using a DJI Mini Pro 2. It’s worth noting that he didn’t have a pre-planned flight path, but within three minutes of flying, he already had a series of usable photos.

Step 2: Upload the photos via IMAGINE UAV
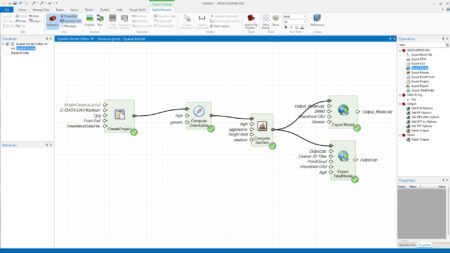
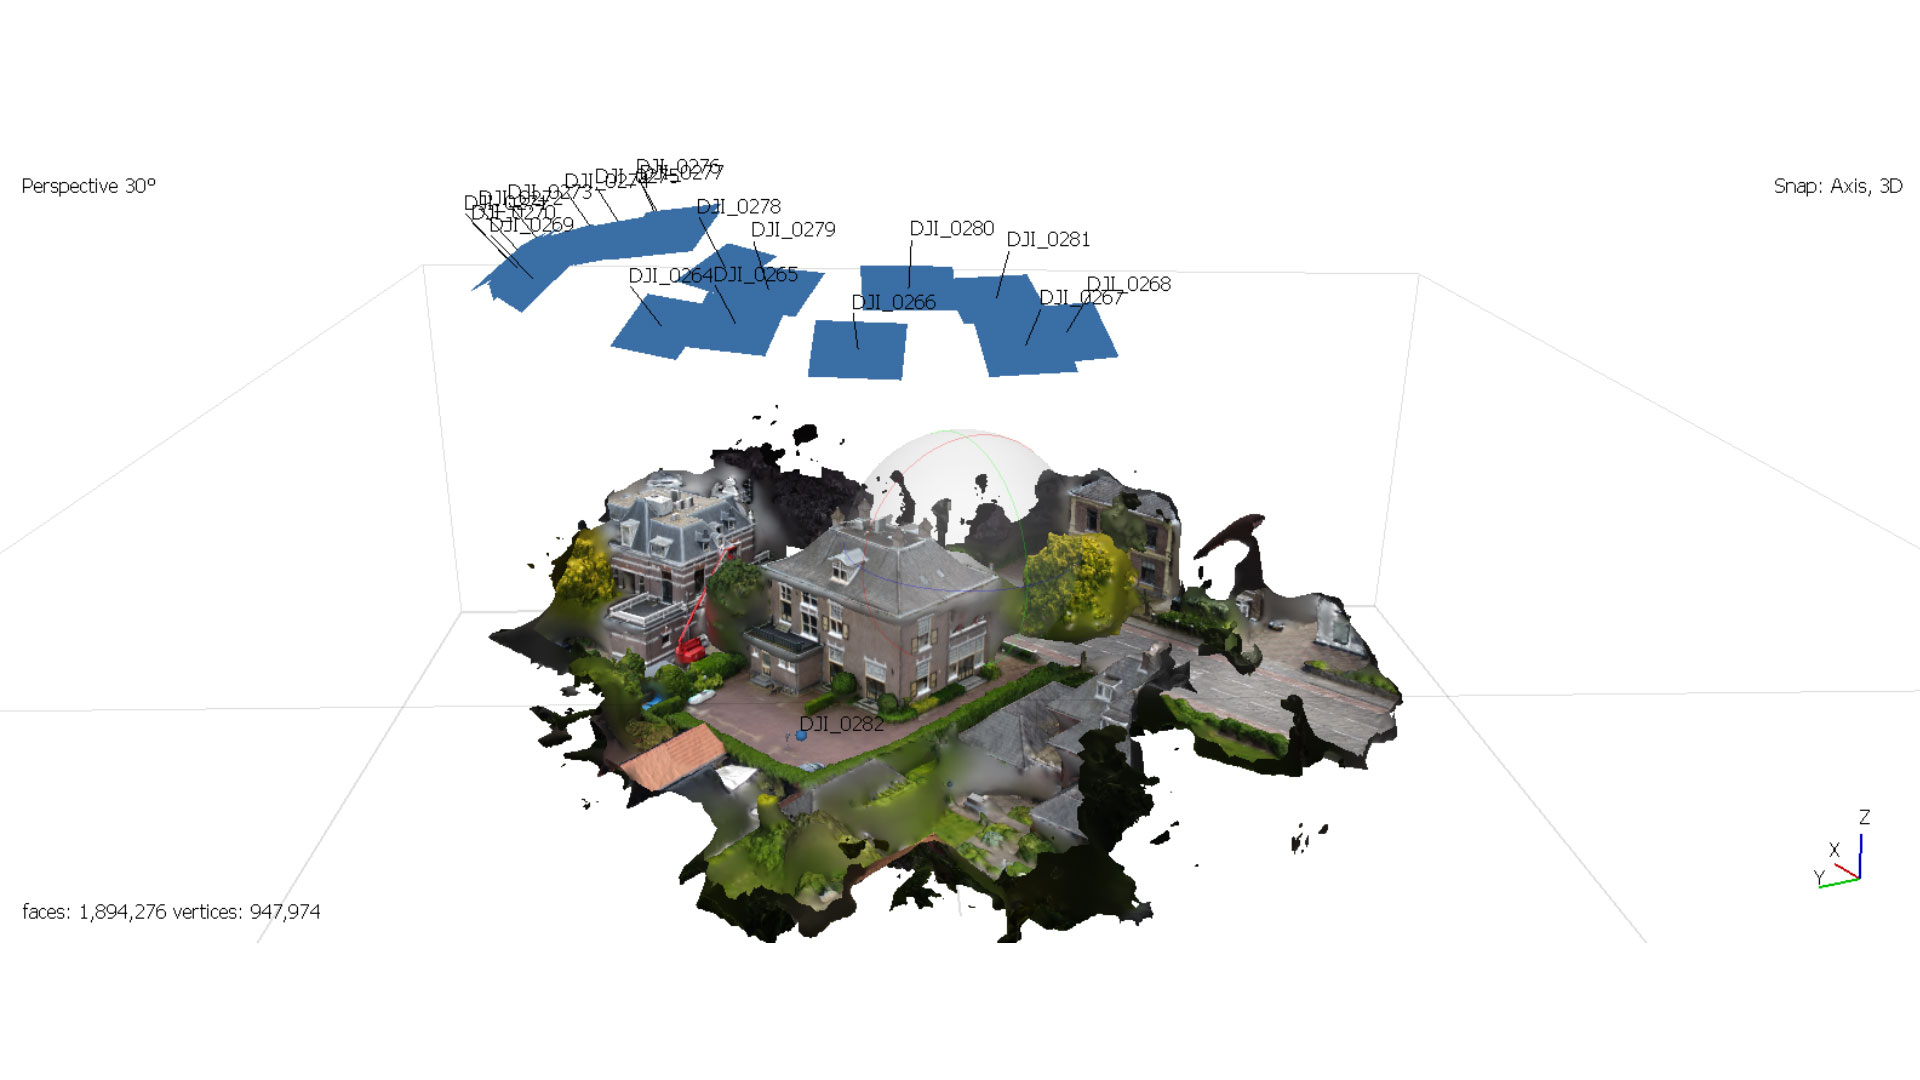
Now that you have the images, it’s time to import them into IMAGINE UAV. IMAGINE UAV processes the drone images into a point cloud. From this point cloud, a 3D mesh of the object can be created. In addition, you can also create elevation models and an orthophoto from the images. This process is fully automated, allowing you to quickly and accurately obtain the desired results.
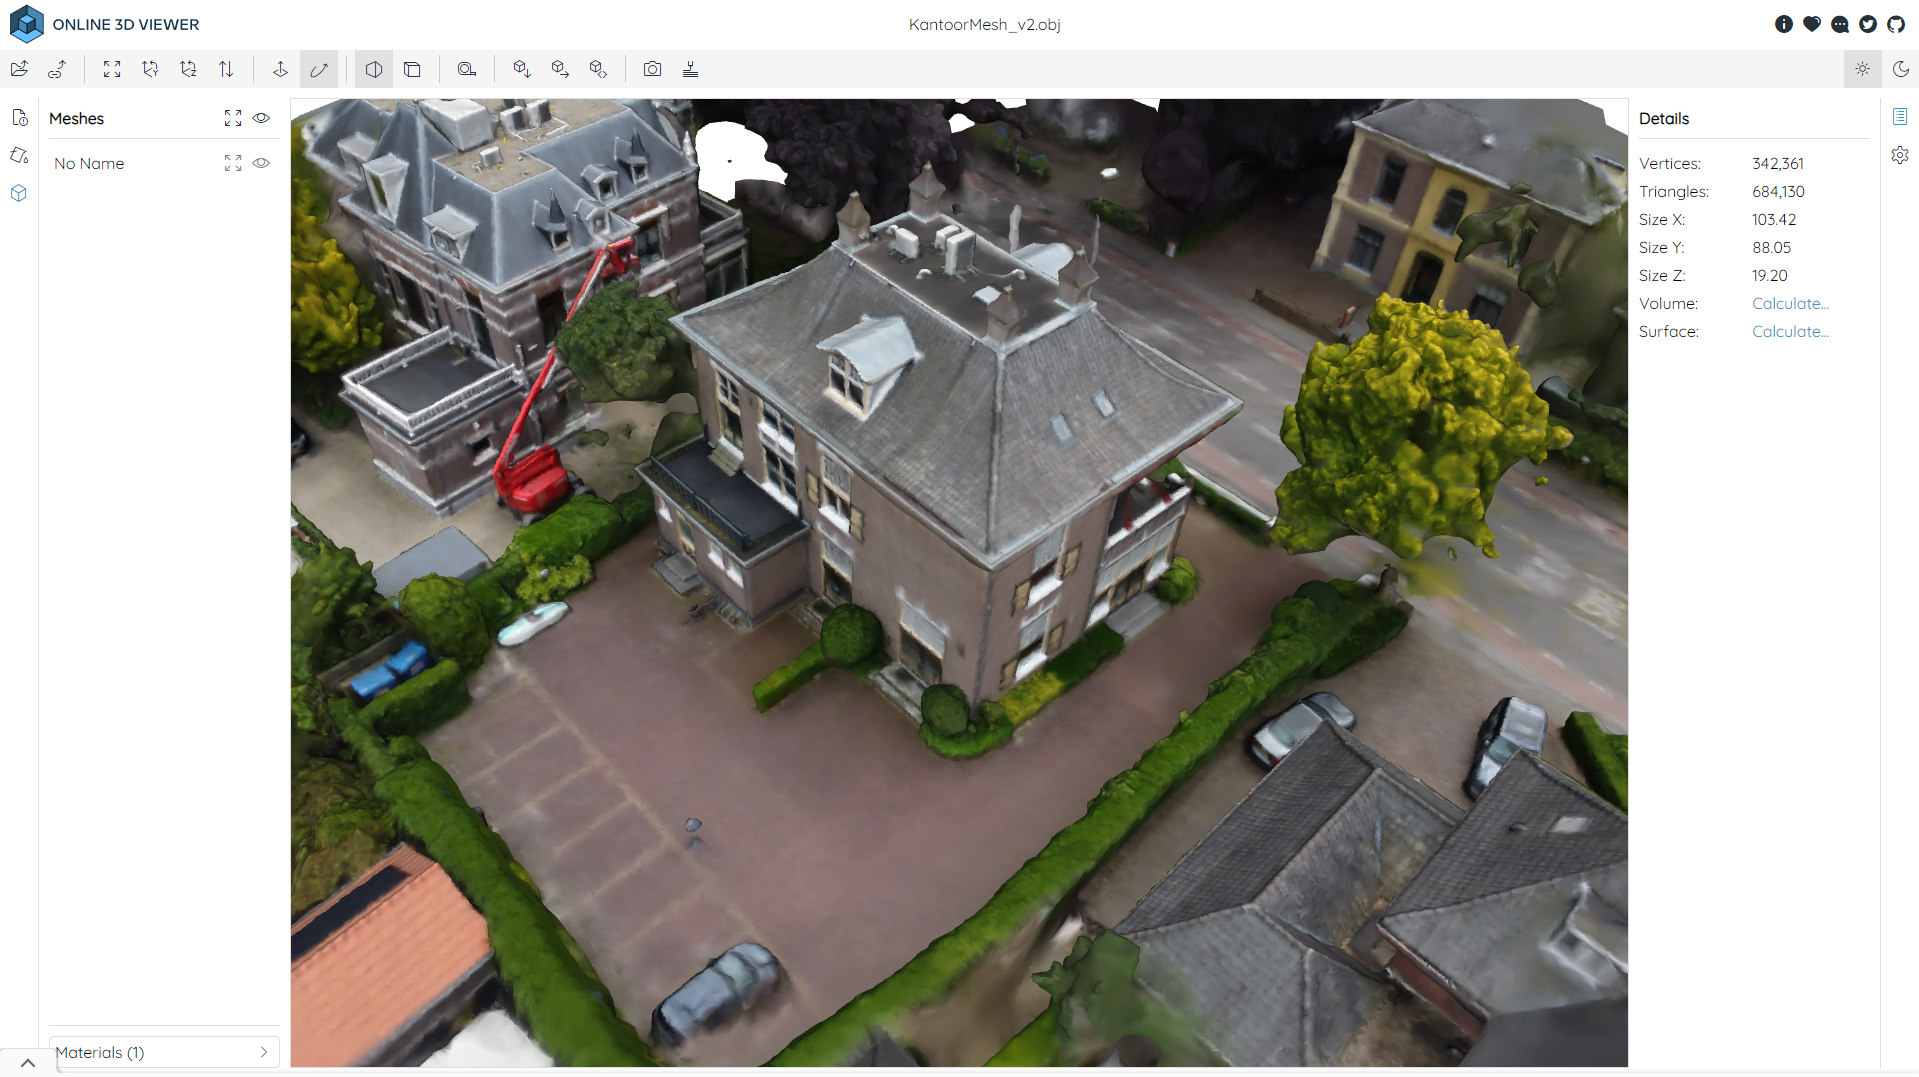
Step 3: Check the resulting 3D mesh
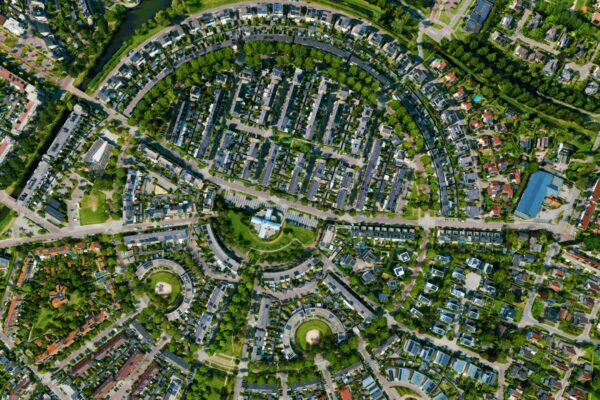
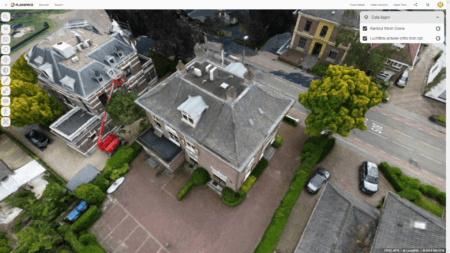
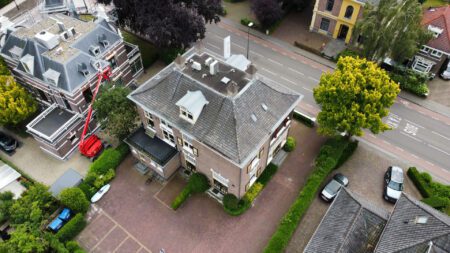
After the conversion, you can check the resulting 3D mesh in a 3D viewer. For the sake of completeness, I’ve reviewed two different versions here to compare the results of the drone photos. This allows you to verify the quality and accuracy of your model and make any necessary adjustments before moving on to the next step. A careful check helps you identify and correct any errors.
What strikes me here is that even though the drone photos were taken from relatively random angles, they still produce sharp results!
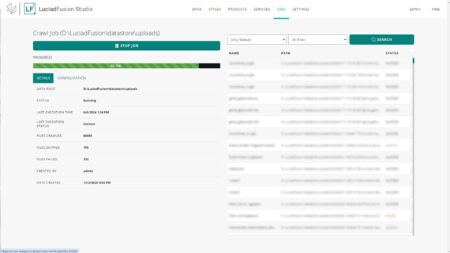
Step 4: Upload your files to LuciadFusion
Upload your files to LuciadFusion Studio. For this session, it took just 2 minutes.
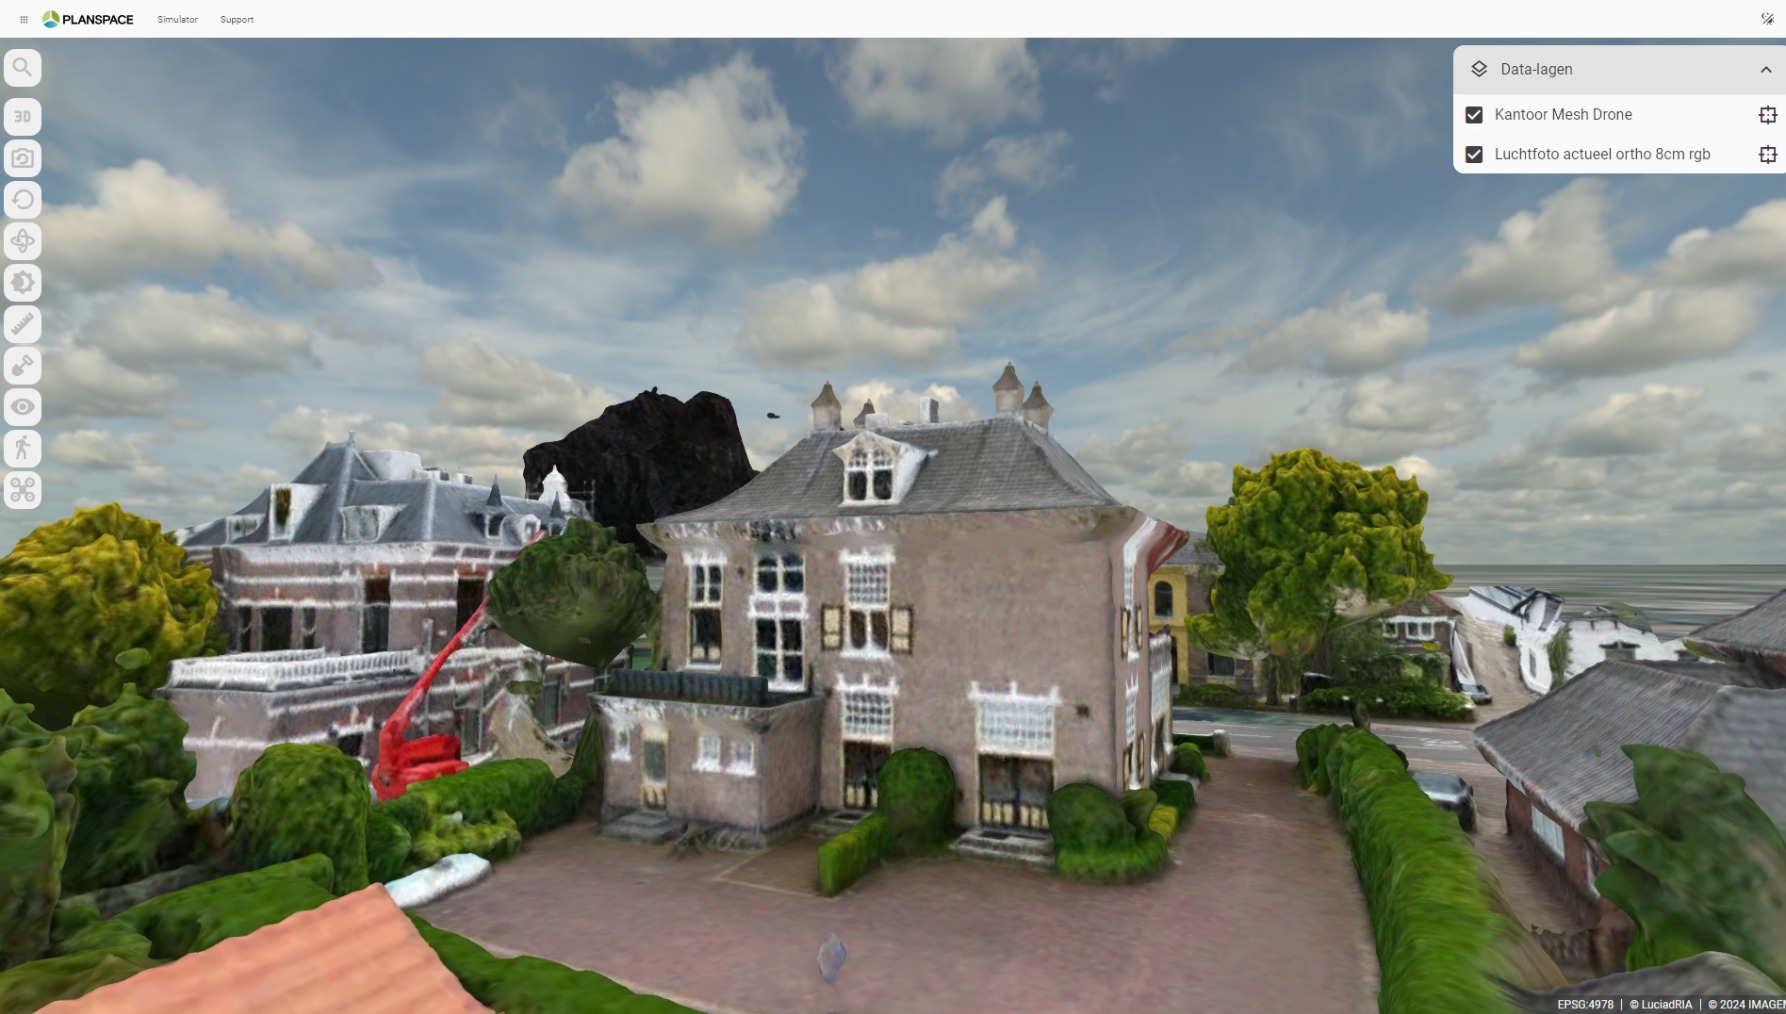
Step 5: View your results in Planspace Simulator
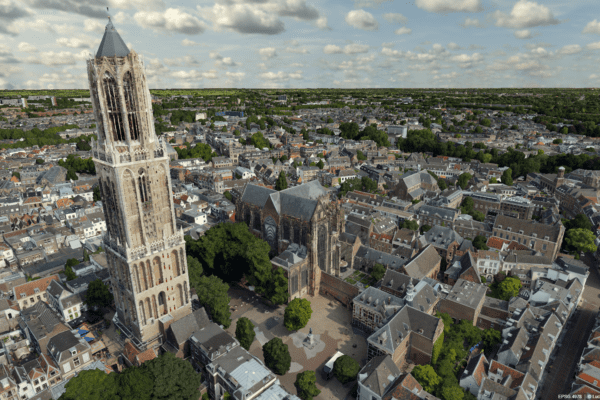
Then comes the moment of truth: View your results in Planspace Simulator. Within minutes, your drone photos will be converted and loaded into a realistic 3D environment. I’m amazed at how fast and easy this process is and how detailed the 3D models look. Whether you’re working on urban planning, construction projects, or landscape analysis, Planspace Simulator you the tools to take your work to the next level.
At IMAGEM proud of the innovation and simplicity our tools offer. With this step-by-step guide, we hope to inspire you to get started on your own and discover how drone photography can enhance your projects. Just give it a try and see for yourself!
Conclusion
In just five simple steps, you can convert your drone photos into detailed 3D models in Planspace Simulator. From capturing the images to admiring the results, the process is fast, efficient, and user-friendly. For this session, we had results from our own office within 15 minutes. So what are you waiting for? Get started today and see how drone photography can transform your work.